A Founder's Guide to Update a GitHub Repository
Think of a GitHub repository as the living, breathing pulse of your product. For founders coming from the no-code world, it's so much more than just a backup for your code—it's a direct reflection of your company's operational maturity.
Every update, or "commit," tells a story about your team's momentum, discipline, and progress. This workflow of pulling, committing, and pushing changes is the bedrock of professional software development.
Why Consistent GitHub Updates Are a Business Asset
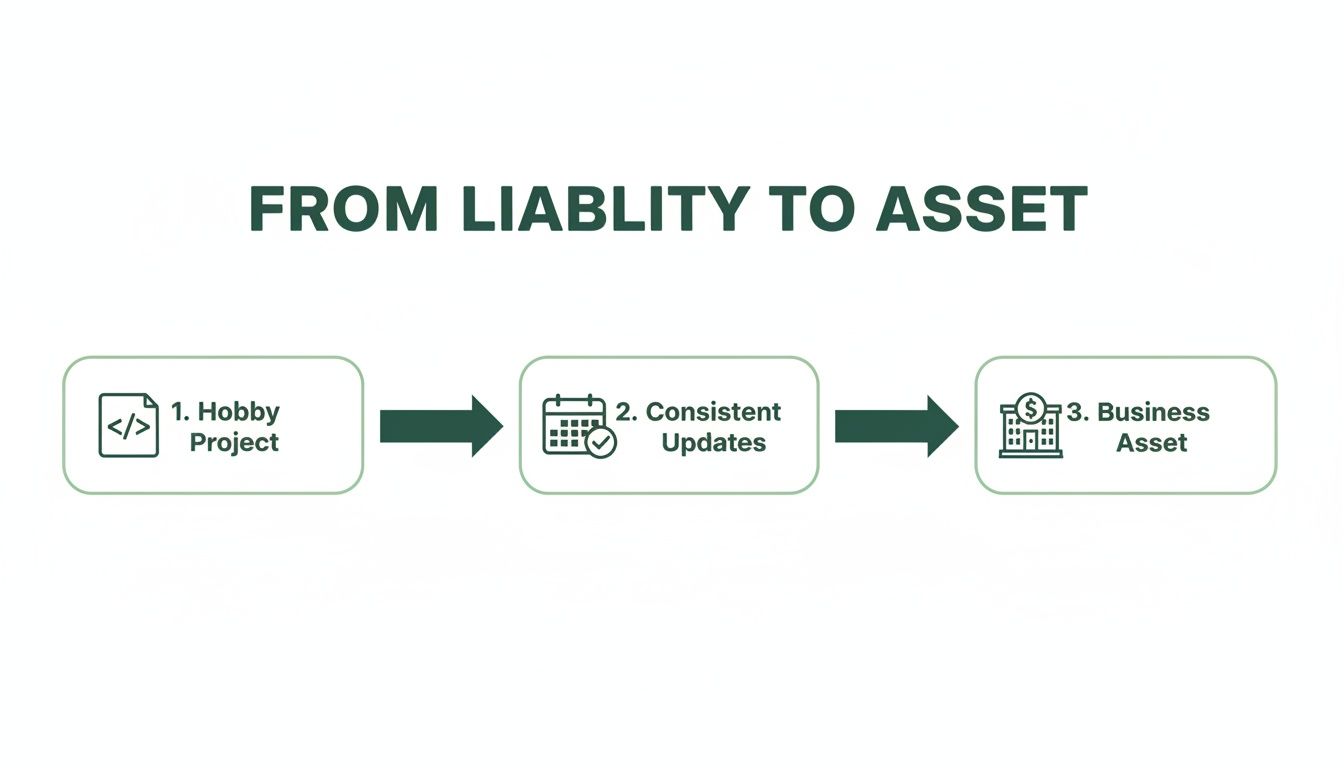
Sporadic, massive updates can make a project feel like a hobby, where work happens in unpredictable bursts. On the other hand, a history of small, frequent, and well-documented commits paints a picture of a serious, scalable tech company.
This isn't just a technical detail; it's a powerful signal to potential investors, partners, and future engineering talent.
The Story Your Commit History Tells
Imagine your repository's history as a transparent logbook. A CTO you're trying to hire will absolutely scroll through it to gauge the health of your codebase and the quality of your team's process. They want to see consistent, thoughtful progress—not chaotic code dumps.
This kind of transparency builds a ton of trust. It proves your business has a clear, repeatable system for shipping features and fixing bugs. It shows you've graduated from fragile, black-box automations to a world of structured, professional development. Following this structured approach, a core part of great software architecture best practices, turns your code from a potential liability into a valuable, auditable asset.
Aligning with Industry Standards
Keeping a repository up-to-date isn't just a "nice-to-have" anymore; it's a fundamental requirement for any serious software team. The numbers don't lie. According to GitHub's Octoverse report, developers now push nearly 1 billion commits per year, and monthly code pushes have surged to over 82 million—that’s a 26% increase year-over-year.
When you migrate from a platform like Bubble or Webflow to a private GitHub repository with a steady stream of updates, you're officially aligning your product with how the entire global software industry builds, reviews, and ships code.
For a non-technical founder, the most important takeaway is this: A clean, active GitHub history is tangible proof of your company's execution capabilities. It's a due diligence document that is always up-to-date.
Ultimately, getting into the rhythm of updating a GitHub repository is about more than just managing code. It's about building a business that is transparent, accountable, and ready to scale. You're investing in operational excellence, and that pays dividends long before you write your next line of code.
Mastering the Essential Syncing Workflow
To keep a GitHub repository humming along, you need to get into a fundamental rhythm: pull, commit, and push. Think of it as the basic grammar of team collaboration on GitHub. You're essentially having a conversation with your project's history. First, you listen to what others have done (pull), then you add your own thoughts (commit), and finally, you share your contribution with the group (push).
This simple, repeatable cycle is what transforms a code folder from a static side project into a living, breathing business asset that grows in value over time.
As you can see, it's the consistency that matters. Each update builds on the last, creating a documented history of progress that makes your codebase a reliable and valuable part of the company.
Always Pull Before You Work
Before you even think about editing a file, make it a reflex to run git pull. This command is your way of asking, "Hey, what's new?" It downloads the latest changes from the main repository on GitHub and merges them into the project copy on your computer.
What happens if you skip this? It’s like walking into the middle of a meeting and just starting to talk, completely unaware of the decision that was just made. You’re almost guaranteed to cause confusion and run into problems. Pulling first ensures you're building on the most recent version of the project and helps you sidestep most of the frustrating "merge conflicts" that pop up when your work clashes with a teammate's.
Commit Your Changes with a Clear Story
Okay, so you've pulled the latest updates and made your changes—maybe you tweaked the copy on the homepage or updated some product specs. Now it's time to save a snapshot of that work. This isn't just one step; it's a quick two-part move.
- Stage Your Changes (
git add): First, you have to tell Git exactly which files you want to include in this update. Think of it as putting your documents into a folder to be mailed. You can add files one by one, or if you want to include everything you've changed, just usegit add .. - Commit the Snapshot (
git commit): This is where you seal the envelope and write a note on the front explaining what's inside. Your commit message is crucial—it explains the why behind your changes.
A truly great commit message gives business context. A generic "updated text" is useless. A founder or product manager should write something that communicates real value, like: "Feat: Add client testimonials to pricing page to boost conversions." Now that tells a story.
A clear commit history is a founder's secret weapon. It allows anyone on the team, technical or not, to quickly look back and understand the project's journey and the business reasons driving each decision.
Push Your Progress to the Team
After you've committed your changes, they're saved securely, but they only exist on your machine. The final piece of the puzzle is git push. This command uploads your committed changes from your computer up to the shared GitHub repository where everyone can see them.
This is the moment your work officially becomes part of the project history. Pushing your updates makes them available for your team to pull down, review, and build upon. It closes the loop and keeps everyone on the same page. Nailing this pull-commit-push workflow is the single most important skill for managing and contributing to your company’s codebase.
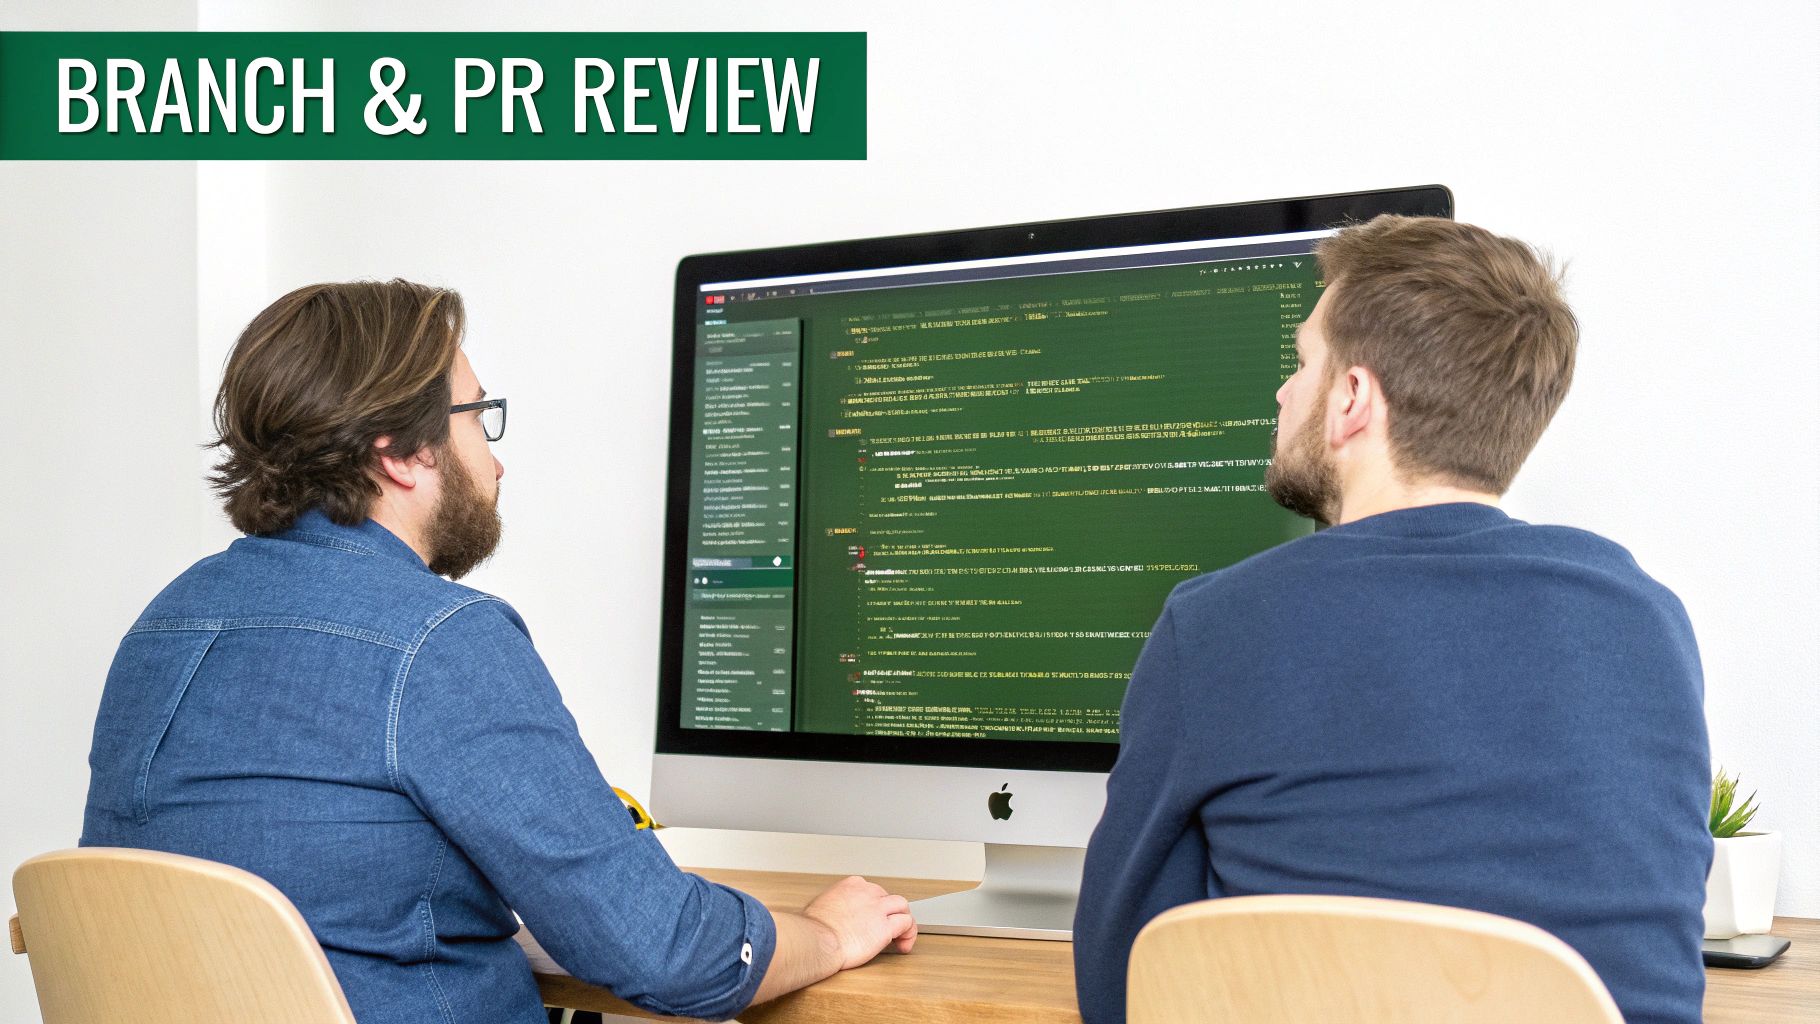
Collaborating Effectively With Branches and Pull Requests
Think of your main codebase—the one usually called main or master—as the definitive, live version of your product. You'd never want a developer experimenting with a new feature directly on the live code. That's a recipe for disaster, where one tiny mistake could crash the entire system. This is precisely why the concept of branches is the most important practice for updating a GitHub repository.
A branch is basically a safe, parallel universe for your project. It's an isolated sandbox where a developer can build something new, fix a pesky bug, or just try out an idea without putting the stable, working codebase at risk. When a new task kicks off, a developer will create a new branch with a clear name, like feature/add-user-login or bugfix/payment-gateway-error.
This entire approach keeps your main branch pristine and always ready to be deployed. It's a fundamental principle of professional software development that you can rely on.
The Pull Request: Your Team's Collaboration Hub
So, the work on a branch is finished and tested. How does that code get back into the main product? This is where a Pull Request (or PR) comes in. The developer "opens a pull request" to formally propose merging their changes from the feature branch back into the main branch.
For a founder or product manager, the Pull Request is your central command for collaboration and quality. It’s so much more than a technical step; it’s a forum for discussion. Inside a PR, your team can review the proposed changes line-by-line, ask questions, suggest improvements, and see the results of automated checks. It's the gatekeeper that ensures only high-quality, fully-vetted work makes it into your final product.
A Pull Request transforms code updates from a solitary, technical task into a transparent, collaborative business process. It’s where product decisions meet implementation, and where quality is rigorously enforced.
How to Review a Pull Request Without Reading Code
Here's the secret: you don't need to be an engineer to add immense value during a PR review. Your perspective is critical for making sure the changes actually align with your business goals. Instead of getting bogged down in the code itself, focus on these key areas:
The PR Title and Description: Does it clearly explain what the change is and, more importantly, why it was made? A good description should tie the technical work directly back to a user story, a ticket, or a business objective. If it's vague, ask for clarification.
The Files Changed: Just scanning the list of file names gives you powerful context. If the PR is supposed to update the pricing page, you should see files related to pricing. If you spot changes to unrelated files, it's a perfect moment to ask, "Hey, why was this part of the application touched?"
Automated Checks: Most professional setups have automated tests that run on every single PR. Look for a big green checkmark. That means all tests passed. A red "X" is an immediate red flag that something is broken and needs to be fixed before anything else happens.
By focusing on the story and the outcome, you can guide the technical work without ever needing to read a single line of code. This is what makes the Pull Request the perfect tool for non-technical leaders to effectively manage and update a GitHub repository.
Making Quick Updates Directly on GitHub
You don't always need to fire up the command line to make a change. For many day-to-day edits, especially for things like text files or images, you can update a GitHub repository right from your web browser. This is a game-changer for founders and product teams who need to make quick, impactful updates without pulling a developer away from their work.
Think of it as your go-to method for managing the project's non-code elements in a controlled, trackable way. Need to fix a typo in the README.md file? Update your company's mission statement? Tweak a simple configuration file? The GitHub web editor makes it surprisingly easy, effectively bridging the gap between technical and non-technical team members.
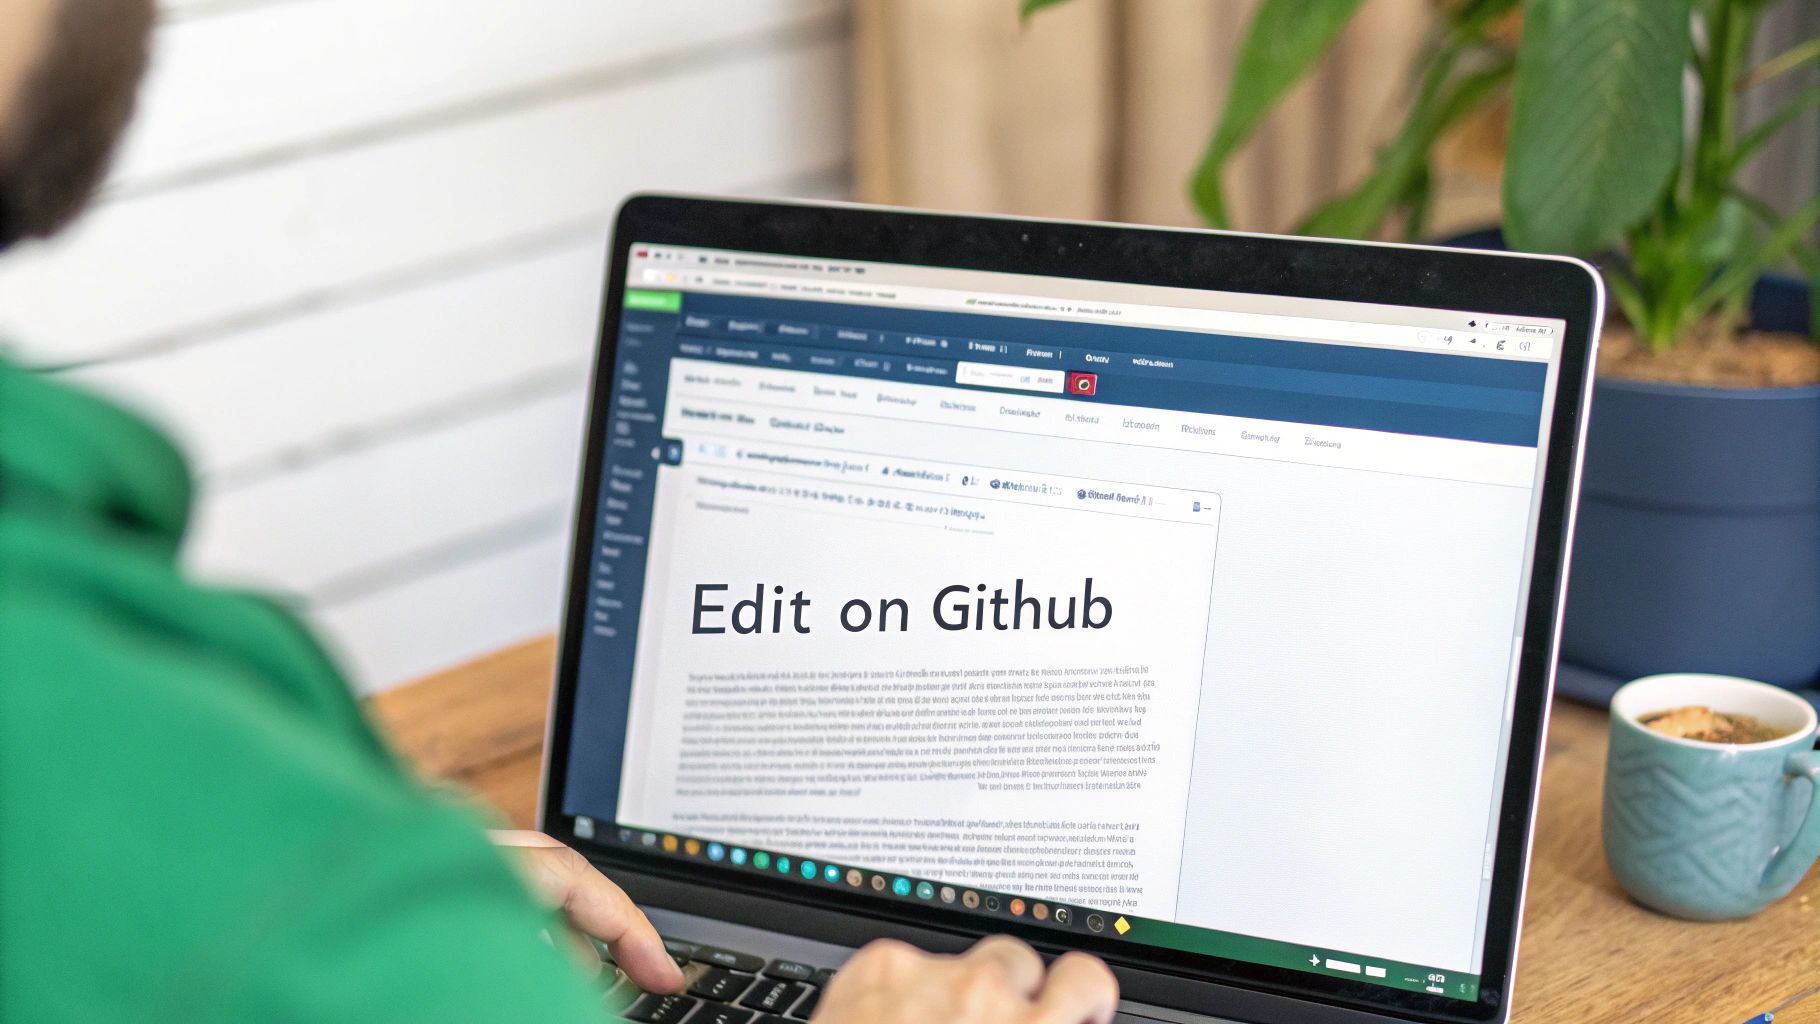
Editing Files in Your Browser
To get started, just navigate to the file you want to change within your repository on GitHub.com. Look for a small pencil icon in the top-right corner of the file view—clicking it opens a simple web-based editor where you can make your changes on the spot.
Once you’re done, scroll down to the "Commit changes" box. This is where you'll write a short, clear commit message explaining what you did, just like you would on the command line. You can also decide whether to commit directly to the main branch or create a new branch and start a Pull Request.
For a quick typo fix or a small update to the README, committing directly to the
mainbranch is usually fine. For anything more significant, it's always a good idea to create a new branch and open a Pull Request so the team can review it.
Following this process ensures every change, no matter how small, is logged in the project's history. It keeps everything neat and maintains a single source of truth.
Uploading New Assets
What if you need to add a completely new file? Maybe a new logo, a PDF of brand guidelines, or some screenshots for your documentation? GitHub's web interface handles this just as gracefully.
Simply go to the folder where you want to add the file. In the top-right corner, you’ll see an "Add file" dropdown menu. Click it and choose "Upload files." From there, you get a familiar drag-and-drop box where you can upload assets straight from your computer.
This is a fantastic way to keep your visuals and documents in sync with your codebase. Plus, uploading assets this way means they are also version-controlled, just like your code. While you're managing files, it's also a good moment to think about your project's security. For a more detailed look, check out our guide on essential security best practices for web applications.
By using the web UI for these straightforward tasks, non-technical team members can contribute confidently and safely. It’s a powerful way to keep a project's documentation and assets up-to-date without getting in the way of the core development workflow.
Best Practices for a Clean and Professional Repository
Think of your GitHub repository as more than just a place to store code. It's a living record of your product's evolution and a clear indicator of your team's discipline. How you handle updates speaks volumes, distinguishing a professional, scalable project from a chaotic one. It really all boils down to a few core habits that turn your repo into a valuable, transparent asset.
The most critical habit? Small, frequent commits. Massive, once-a-week code dumps are a major red flag. They’re a nightmare to review, a headache to roll back if something breaks, and they completely hide the actual progress being made. On the other hand, small commits that each tackle a single, logical change create a clean history that tells a story.
Adopt Clear Naming Conventions
Vague names are a productivity killer. When you see a branch called dave-updates or bug-fix, what does that even mean? You’re forcing your team to waste time digging for context. Clarity is kindness, so a simple, descriptive naming convention is a must.
This small change makes a huge difference in how easy your repository is to navigate. A good branch name tells you exactly what’s happening at a glance.
For example:
feature/new-onboarding-flow: You know immediately this is for a new user onboarding feature.bugfix/login-api-error: This is clearly a fix for a specific bug with the login API.chore/update-documentation: Just a maintenance task, not a new feature or fix.
With a structure like this, anyone on the team—technical or not—can understand the work in flight just by looking at the branch list.
Let Automation Be Your Quality Gatekeeper
You can't manually check every single update for mistakes. It just doesn't scale. This is where Continuous Integration/Continuous Deployment (CI/CD) pipelines become your best friend. Tools like GitHub Actions can automate your quality checks, acting as a tireless gatekeeper for your project.
You can set up workflows to automatically run tests and checks every time a commit is pushed or a Pull Request is opened. This is the bedrock of modern software development; it ensures a baseline of quality before a human even lays eyes on the code. This kind of automation is just as crucial for your codebase as structured database version control is for your data.
The industry is leaning heavily into this. Across GitHub, continuous deployment via Actions has jumped by about 50%, with developers running roughly 5 million workflows every single day. The payoff is real: this shift has slashed deployment times by an average of 30%. For a founder moving away from manual processes, this means every git push can be set up to test and deploy with predictable speed. You can read more about these GitHub statistics and their impact.
By embracing these habits—small commits, clear naming, and smart automation—you transform your repository from a messy code folder into a highly efficient, self-documenting system that builds quality right into your workflow.
Common Questions from Founders
Diving into GitHub for the first time can feel like you're trying to learn a new language, full of strange commands and concepts. As a founder, your mind is probably on the product and growth, so it's completely normal to have questions about the technical side of things.
Let's walk through some of the most common questions we hear from non-technical leaders learning how to update a GitHub repository. These are the typical stumbling blocks, and getting past them is a huge step in graduating from a no-code setup to a professional, scalable tech stack.
What Happens if I Forget to Pull First?
It's an easy mistake to make, but forgetting to run git pull before you start working means you're building on an old foundation. You're essentially editing an outdated version of the project, which almost always creates a headache later.
When you finally go to push your changes, Git will likely stop you with an error. It sees that your local history doesn't match what's on the server anymore and flags a "conflict." You'll then be forced to pull down the new changes and manually merge them into your work, which can be messy and confusing. The single best habit you can get into is to always start with git pull.
Think of it like a shared Google Doc. You’d never start editing without making sure you have the latest version loaded, right? Forgetting to pull is the code equivalent of that—it just leads to those frustrating "version history" problems.
How Do I Undo a Commit I Just Made?
We've all been there. You spot a typo in your commit message or realize you included the wrong file a second after you hit enter. The good news is, it's usually a simple fix, as long as you haven't pushed the commit yet. If the mistake is still just on your local machine, you have a couple of safe options.
- Fix a typo in the commit message: The easiest way is with
git commit --amend. This command opens your last commit message so you can edit it, leaving the actual file changes untouched. - Completely undo the last commit: If you need to scrap the whole thing—the commit and its changes—you can use
git reset --hard HEAD~1. Just be very careful with this one. It permanently discards the work from that commit, so there's no going back.
Should I Delete Branches After They Are Merged?
Yes, absolutely! This is a simple but critical part of keeping your repository clean and professional. Once a pull request is approved and your feature branch has been safely merged into the main branch, it’s done its job.
Leaving old, merged branches hanging around just creates digital clutter. It makes it harder for everyone on the team to quickly see what work is currently in progress. Think of it as good housekeeping. In fact, GitHub encourages this by putting a handy "Delete branch" button right on the screen after you merge a pull request.
Feeling like your no-code MVP is hitting a wall? First Radicle specializes in migrating fragile projects from Bubble, Webflow, and Zapier into production-grade software with a private GitHub repository you own. Get your scalable codebase in six weeks, guaranteed.