A Founder’s Guide to Flawless Web Site Deployment
Web site deployment is simply the process of getting your website or application from your local computer onto the internet where real users can interact with it. It means moving your code to a live server, firing up your databases, and putting all the necessary infrastructure in place to handle actual traffic.
When Your No-Code MVP Hits a Growth Ceiling
That no-code MVP you built was brilliant. It got you off the ground fast, letting you test your idea and get in front of users without a single line of code. Platforms like Bubble or Webflow are fantastic for that initial sprint. But what happens when that speed becomes a roadblock?
Sooner or later, you'll start feeling the friction.

The signs are often subtle at first. Pages get sluggish during peak traffic. You’re building a fragile web of Zapier integrations to pull off a feature that should be simple. Or maybe you've had that dawning realization that you don't actually own your IP. These are the classic growing pains telling you your MVP has done its job, and it’s time for the next step.
Recognizing the Performance Limits
In a startup, performance isn’t a nice-to-have; it's a matter of survival. The data doesn't lie: a staggering 53% of mobile users will bounce if a site takes more than three seconds to load. Think about that. Every one-second delay can also slash your conversions by 7%, a hit no growing business can afford. You can find more great insights on the impact of site performance over on the Wix blog.
This performance lag isn't just about losing a few customers. It chips away at your credibility. When you're pitching investors, they want to see a tech stack that can scale, not a system cobbled together with third-party tools that get more expensive and less reliable as you grow.
The moment your team spends more time creating workarounds for your no-code platform than building features for your customers, you’ve reached the inflection point. It’s no longer an enabler; it's a constraint.
The Shift from Agility to Liability
Your greatest asset—that quick, cheap no-code solution—can quickly become your biggest liability. The cracks start to show when you need to handle sensitive user data, implement custom logic, or just simply scale beyond a few hundred users.
To help clarify this shift, here's a quick comparison highlighting the key differences and signals that it's time to upgrade your tech stack.
No-Code MVP vs. Production-Grade Deployment
| Attribute | No-Code MVP (Bubble, Webflow) | Production-Grade (React/Next.js, PostgreSQL) |
|---|---|---|
| Primary Goal | Speed and idea validation | Scalability, performance, and reliability |
| Technology | Proprietary, visual drag-and-drop | Open-source code (React, Python), robust databases |
| Ownership | Platform-owned, subscription-based | Full IP ownership of the codebase |
| Scalability | Limited by platform architecture | Virtually unlimited with proper infrastructure |
| Security | Dependent on platform's controls | Granular, customizable security protocols |
| Customization | Constrained by pre-built components | Infinite possibilities for custom features |
This table makes it clear: the tools that got you here won't necessarily get you to the next level.
You'll know it's time to graduate when you're facing challenges like these:
- Security Gaps: You can't implement the granular security you need for things like user authentication or payment processing. The platform's one-size-fits-all approach just isn't cutting it anymore.
- Scalability Ceilings: Your database, which might be something as simple as Airtable, is choking on the number of queries. This directly translates to slow response times and a terrible user experience.
- IP Ownership: To secure that next round of funding and build a truly defensible business, you need to own your code. That’s just not possible on a proprietary no-code platform.
Making the move to a production-grade stack—say, a React/Next.js frontend with a Python and PostgreSQL backend—is more than a technical upgrade. It’s a strategic business decision. You're building a foundation that can support your long-term vision, attract serious investment, and deliver the rock-solid experience your users deserve.
Preparing Your Project for a Seamless Handover
A successful deployment is won in the prep work, long before your new engineering team writes a single line of code. For a non-technical founder, this handover is probably the most critical part of the entire process. Get it right, and you prevent endless misunderstandings and painful scope creep.
Think of it as creating the ultimate instruction manual for your product.
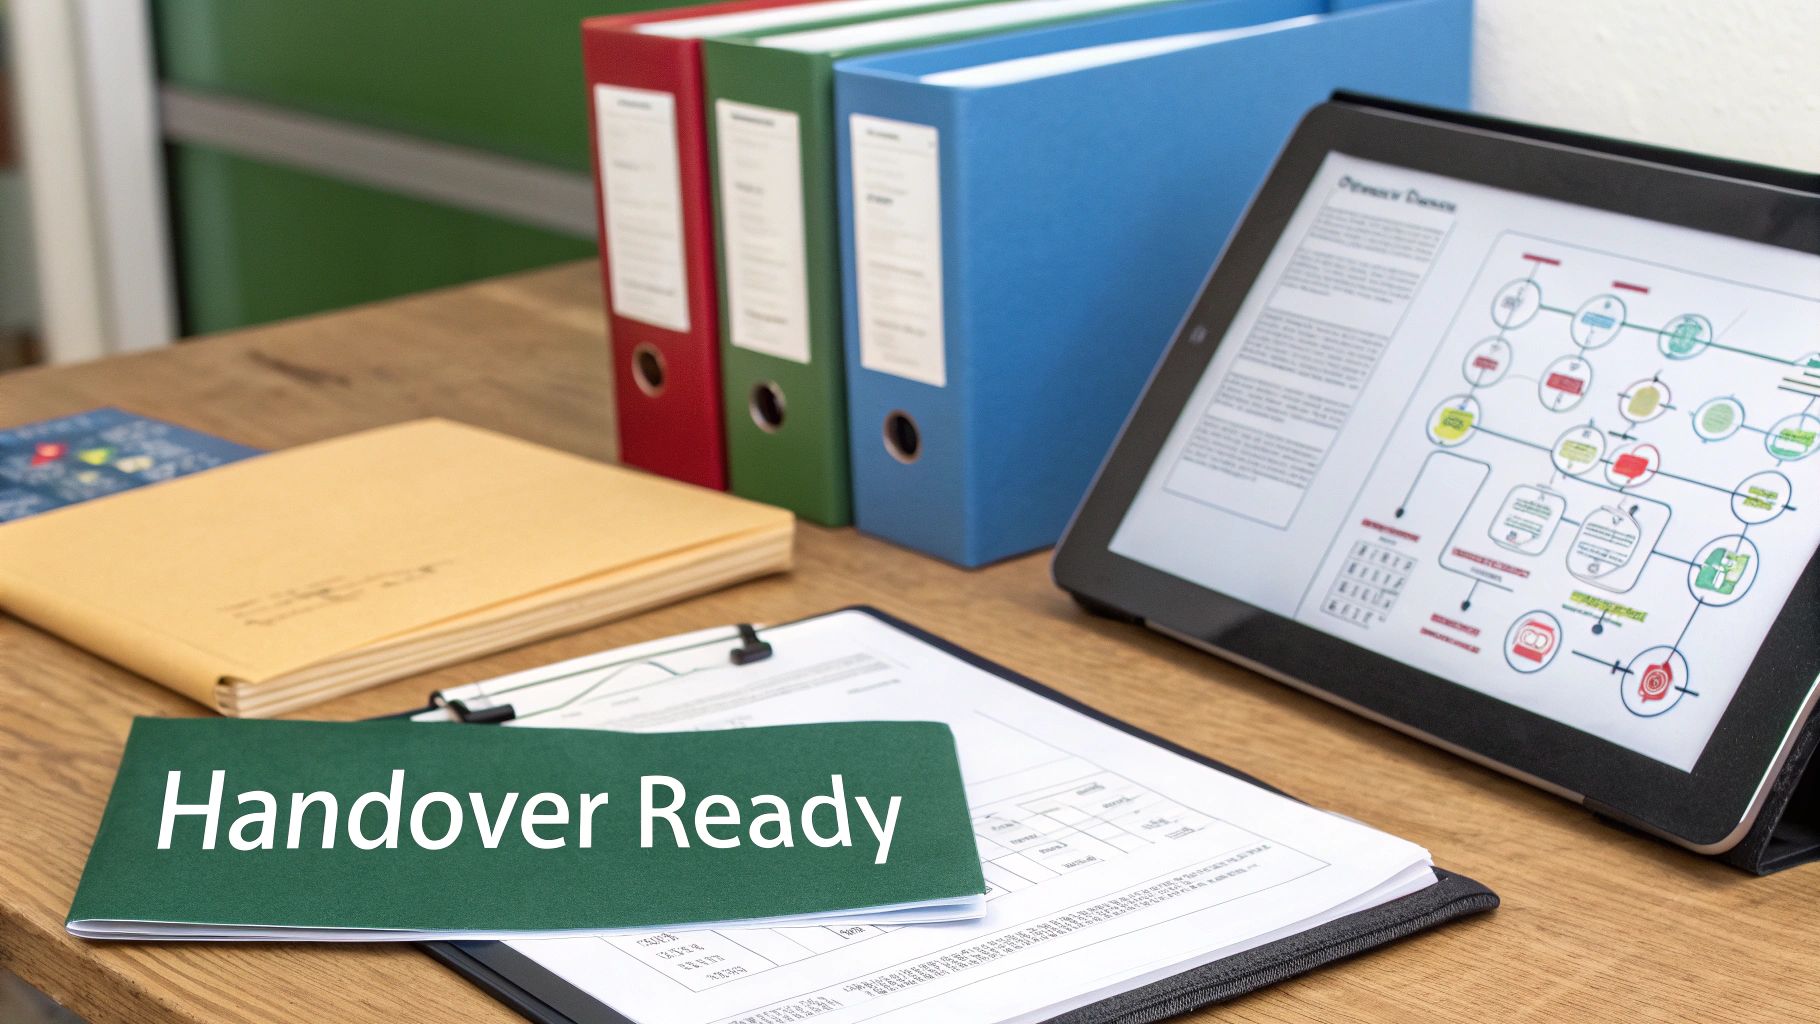
This preparation ensures nothing gets lost in translation. It empowers developers to scope the project accurately, give you realistic timelines, and actually start building the right thing from day one. I’ve seen sloppy handovers lead to disaster—delays, blown budgets, and a final product that looks nothing like the original vision.
Documenting Every User Flow
First things first, you need to map out every single user flow, meticulously. Don't just list features; show how a person actually moves through your app.
How does a new user sign up, fill out their profile, and do that first critical thing your app is for? What happens when they forget their password? Or when they try to click on a premium feature without a subscription? You have to sweat the small stuff here.
Your goal is to eliminate any and all ambiguity. Visuals are your best friend.
- Flowchart Tools: Jump into a tool like Miro or Whimsical to draw out your app's logic. These diagrams are so much more effective than a wall of text for explaining complex interactions to a technical team.
- Screen Recordings: Make a few quick Loom videos where you walk through each user journey. As you click, just talk through the "why" behind each step. This adds a layer of context that static documents can never capture.
This kind of visual documentation acts as a universal language, bridging the gap between your vision and the engineering team's execution.
A well-documented handover isn't just about dumping information. It's about building confidence. When developers see you've done your homework, it establishes a partnership built on clarity and respect, which sets a great tone for the whole project.
Mapping Your Data and Consolidating Credentials
Your data is the lifeblood of your application. If your MVP is currently humming along on something like Airtable or Google Sheets, you need to map out what your future database schema will look like. This doesn't have to be super technical.
Just create a simple document that lists each "table" (like Users, Projects, Invoices) and then details what each "field" inside it represents (like First Name, Email, Creation Date) and its data type (text, number, date, etc.). This map is literally the blueprint your engineers will use to build your new PostgreSQL database.
Finally, gather all your third-party service credentials into one secure spot. Please, use a password manager like 1Password or Bitwarden for this.
List every single tool your app depends on, from your payment gateway like Stripe to an email service like SendGrid. For each one, include the API keys, login credentials, and a quick note on what it’s used for. This kind of organization prevents developers from getting stuck waiting on you for access.
It’s a simple but powerful step toward a smooth, efficient, and successful web site deployment. To get even more prepared, you might want to understand the basics of how developers manage code; our guide on how to use Git for version control is a great place to start.
Choosing Your Production Infrastructure
Stepping out of the sheltered world of a no-code platform means you're now in charge of your own infrastructure. It's a huge step—liberating, but also pretty daunting. Suddenly, you're swimming in a sea of cloud providers, hosting models, and a whole dictionary of new acronyms. Getting this choice right is the bedrock of a successful web site deployment.
This decision goes way beyond just finding a server to park your code. You're picking a partner for your startup's growth. The goal is to find that sweet spot between ease of use, cost, and the power to scale when you need it. This is how you build a site that won't crumble the day you get that big feature on TechCrunch.
The web hosting market is enormous, expected to rocket from $125.36 billion in 2025 to over $355.81 billion by 2029. While cheap shared hosting runs a huge chunk of the internet, it’s not built for the kind of traffic spikes a growing startup dreams of. For serious applications, you need to look at dedicated hosting (a market projected to hit $29.6 billion by 2026) or, more likely, robust cloud services from giants like AWS and Google Cloud, who together handle a staggering 77% of all internet traffic. You can dig into more of these hosting market trends to get a feel for the landscape.
First, Get Your Environments Straight
Before you even think about a provider, you need to set up a professional workflow. This means creating separate environments for different stages of development. It’s the single best way to keep a buggy update from ever reaching your customers.
Think of it in three distinct stages:
- Development: This is your laptop. It's where your developers write and test code on their own machines, completely isolated from everything else.
- Staging: This is your dress rehearsal. It should be an exact replica of your live setup, where you can deploy new features for a final round of testing and QA before they face the public.
- Production: This is the main event—the live site your users see and interact with. It should be stable, closely monitored, and only ever receive code that has been thoroughly vetted in staging.
For any serious tech company, this separation isn't optional. It’s your safety net. It’s what lets you move fast and build cool things without constantly breaking the user experience.
A Founder-Friendly Infrastructure Stack
For a startup running a React/Next.js frontend, a Python backend, and a PostgreSQL database, you don't need a sprawling, overly complex setup on day one. Your priority should be making your developers productive and keeping your own operational headaches to a minimum.
The best infrastructure for a startup isn't the one with the most bells and whistles. It's the one that lets your team ship code confidently without needing a dedicated DevOps engineer from the get-go.
Here’s a powerful but manageable stack that just works:
- Frontend (React/Next.js): Vercel. Since Vercel is made by the same team that created Next.js, the experience is incredibly smooth. Its GitHub integration is best-in-class; it automatically spins up a preview deployment for every pull request, making your code review process a breeze.
- Backend & Database (Python & PostgreSQL): AWS. When it comes to reliability and the ability to scale, nothing beats Amazon Web Services. Specifically, you can use AWS Elastic Beanstalk for your Python app and Amazon RDS for your PostgreSQL database. These services handle most of the tedious server management for you.
This hybrid approach really does give you the best of both worlds. Vercel delivers an amazing developer experience for your frontend, while AWS provides the industrial-strength, scalable foundation your backend and data will need as you grow. It's a proven combination for a production-grade web site deployment pipeline that’s powerful, smart with your budget, and built for a startup with big ambitions.
Automating Deployments with a CI/CD Pipeline
Let's be honest: manual deployments are a nightmare. They're slow, riddled with potential for human error, and a surefire way to push a critical bug live at 5 PM on a Friday. As a startup founder, your time is your most precious asset. Wasting it on a clumsy, manual upload process is time you're not spending on actually growing your business.
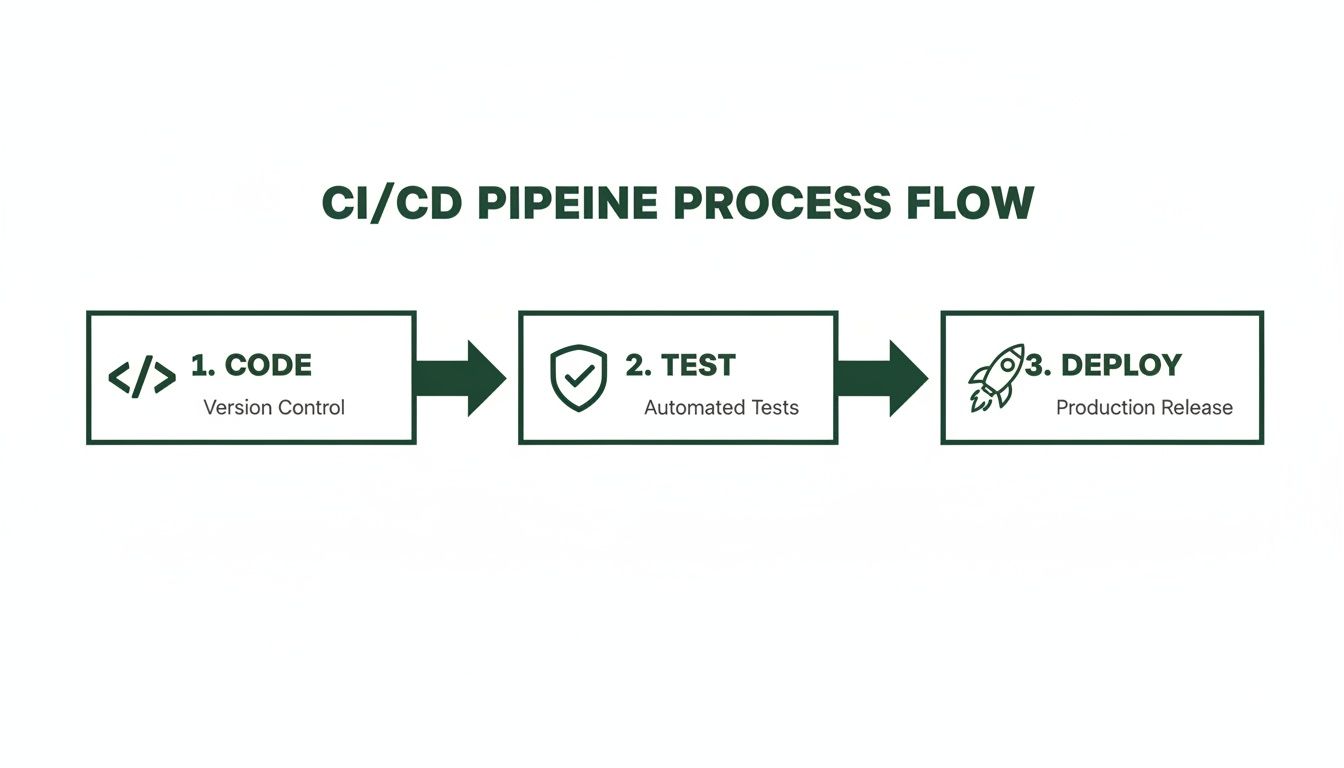
This is where you bring in your secret weapon: a proper CI/CD pipeline. Standing for Continuous Integration and Continuous Deployment, it's an automated system that takes your code from a developer's laptop to your live server without manual intervention. Forget dragging and dropping files; this is about setting up an automated workflow that builds, tests, and deploys your application every single time a change is made.
How a CI/CD Pipeline Works
Think of it as an automated assembly line for your code. A developer pushes a new feature or a quick bug fix to your repository on GitHub or GitLab. That single action acts as a trigger. A tool like GitHub Actions or GitLab CI immediately wakes up and starts running through a script you've defined.
The beauty of this is its consistency. Every single code change, no matter how small, goes through the exact same rigorous process. It’s the difference between a precision-managed factory floor and trying to build something by hand in a dark room.
A solid CI/CD pipeline does more than just save time. It builds confidence. It allows your team to ship smaller, more frequent updates, knowing that a safety net of automated checks is always there to catch mistakes before they impact a single user.
Integrating Automated Tests as a Quality Gate
The real power of a CI/CD pipeline comes from its ability to run automated tests. These tests are your gatekeepers. Before any new code gets the green light to move forward, it has to pass a series of checks that you've put in place.
For a stack like ours (React/Next.js and Python), that testing gauntlet could look something like this:
- Unit Tests: Small, focused tests that verify individual functions in your Python backend work perfectly. For example, does your pricing function return the correct subscription cost?
- Integration Tests: These ensure that different pieces of your system play nicely together. Can your Next.js frontend successfully pull data from your Python API endpoint?
- End-to-End (E2E) Tests: These are the big ones. They simulate an entire user journey from start to finish. An E2E test might automatically navigate to your site, sign up for a new account, create a project, and then log out, confirming the whole workflow is solid.
If any—even one—of these tests fail, the pipeline slams on the brakes. The deployment is halted, and the developer gets an instant notification. This automated feedback loop is invaluable; it catches bugs right when they’re introduced, making them infinitely cheaper and easier to fix. This is also how you can safely manage updates to your application's structure. For a deeper look, check out our guide on managing database changes effectively.
A Real-World Deployment Scenario
Let's walk through what this looks like in practice. Your developer just wrapped up a brand-new user profile page. They push their code to a new branch in GitHub.
What happens next is a seamless, automated dance:
- Pull Request: The developer opens a pull request, signaling they're ready to merge the new page into the main codebase.
- CI Trigger: GitHub Actions sees this and immediately kicks off the CI pipeline. It builds the React app and runs all those unit and integration tests we talked about.
- Staging Deploy: With all tests passing, the pipeline automatically deploys the new code to your staging environment—a private server that mirrors your live site.
- Final Review: Now, you and your team can actually click around the new profile page on the staging server. It looks and feels real because it is. This is your chance for a final hands-on review.
- Production Deploy: Once everyone gives the thumbs-up, you simply merge the pull request. That final merge triggers the last stage of the pipeline, which takes that exact same code that was tested and reviewed and deploys it to your production server. The new page is now live for all your users.
This whole system brings speed, safety, and predictability to your releases. It turns the stressful, high-stakes event of a deployment into just another routine, automated task.
5. The Big Switch: Data Migration and Domain Cutover
Alright, this is where the rubber meets the road. All the planning, coding, and infrastructure setup has led to this moment: moving your data and flipping the switch on your domain. The name of the game is a clean, seamless cutover. If you do this right, your users won't even know a massive engineering effort just happened behind the scenes.
This is a two-part dance. First, we need to get all your valuable user data out of its old home (whether that's Airtable, Bubble, or something similar) and safely into your new PostgreSQL database. Then, at just the right moment, we’ll repoint your domain's DNS records to your new servers. Precision is everything here; we're aiming for zero downtime.
Getting Your Data Across Safely
First things first: the data. You absolutely need a bulletproof plan to extract every last record from your no-code platform and load it into your new PostgreSQL database. Typically, this means writing a few custom scripts. These scripts will hit your old platform's API, pull down the data, re-shape it to match your new database schema, and then push it into Postgres.
If you want to go deeper on the technical side of this, we have a whole guide on how to migrate a database to the cloud that covers the nitty-gritty.
Here’s a practical breakdown of how this usually works:
- The Big Lift: You'll do an initial, full data transfer. This is a one-shot deal where you move every existing record over to the new PostgreSQL database. Schedule this for a weekend or late at night when traffic is at its lowest.
- Validate, Then Validate Again: Once the data is moved, you have to check it. Run queries on both the old and new databases. Do the record counts match? Are critical fields like user emails and subscription IDs all there? Don't skip this.
- The Final Sync: Right before you flip the DNS switch, you'll need to catch any new data that came in since your initial transfer. Run a final "delta" script to sync any new user signups, purchases, or other activity that happened on the old site. This closes the gap and prevents data loss.
I can't stress this enough: validate your data. It’s the one step everyone wants to rush, and it’s the one that will bite you later. A simple
COUNT(*)on your main tables in both databases is a 5-minute sanity check that can save you days of headaches.
This whole process is supported by your CI/CD pipeline, which ensures the code you're deploying is solid.
This automated flow is your safety net. It makes sure every new piece of code is tested before it ever touches your live environment, which is absolutely critical during a sensitive operation like a cutover.
Executing a Zero-Downtime Domain Cutover
With your data safely in its new home and validated, it's time to send your users to the new site. The domain cutover is all about updating your DNS records to point yourproduct.com away from the no-code platform and toward your new setup on Vercel and AWS.
The secret to doing this with zero downtime lies in one simple setting: Time-To-Live (TTL).
At least 24 hours before you plan to make the switch, you need to log into your domain registrar and lower the TTL on your key DNS records to something really short, like 60 seconds. This tells browsers and servers everywhere to check for new DNS information every minute instead of every few hours.
When it's finally go-time, you'll update the records. Because the TTL is so low, the change will ripple across the internet almost instantly. Users will seamlessly transition to the new site without ever seeing a broken page. Once everything is confirmed stable, you can set the TTL back to a more reasonable value.
The final piece is getting a new SSL certificate configured for your domain on the new infrastructure. This ensures all traffic remains encrypted over HTTPS and seals the deal on a successful web site deployment.
8. After the Launch: Monitoring and Staying Ahead
Getting your site live isn't the end of the road. In many ways, it's just the beginning. The focus now shifts from building to maintaining, watching, and preparing for growth. The real work of running a production-grade application starts with a solid monitoring strategy to keep things running smoothly and your users happy.
If you don't have the right tools in place, you’re essentially flying blind. You need to set up application health tracking from day one. This goes way beyond a simple "is the site up?" check; it's about understanding the application's heartbeat and knowing what’s happening under the hood, especially when things go wrong.
Getting Your Observability Stack in Place
As a startup, you don't need to overcomplicate things with a dozen different tools. You can get all the visibility you need to stay ahead of problems with just a couple of well-chosen services.
For a stack running on React/Next.js and Python, here’s what I’d consider essential:
- Error Monitoring: A tool like Sentry is non-negotiable. It catches exceptions in both your frontend and backend code the moment they happen. When a user hits a bug, Sentry sends you an alert with a full stack trace, which makes finding and fixing the problem ridiculously faster.
- Performance and Traffic Analytics: While you’ll likely use Google Analytics for marketing data, Vercel Analytics is perfect for digging into the performance of your Next.js frontend. It keeps an eye on Core Web Vitals and other speed metrics, helping you make sure the site stays zippy and responsive.
A critical bug can fly under the radar for days, quietly chipping away at user trust and costing you business. Proactive monitoring flips the script from frantic firefighting to a managed process, letting you fix issues before most users even notice something is wrong.
Your Ultimate Safety Net: A Rollback Plan
Look, no matter how good your automated tests are, bugs will eventually slip through. A bad deployment is going to happen. When it does, you need a big red "undo" button. That’s your rollback plan. It's a critical safety net that lets you instantly revert your application back to the last stable version.
Modern platforms like Vercel make this almost trivial. With just one click, you can redeploy a previous, stable build, effectively undoing the problematic changes in seconds. This keeps downtime to an absolute minimum and gives your team the space to fix the real issue without the pressure of a broken site being live.
Scaling for What's Next
One of the biggest advantages of moving to professional cloud infrastructure is the ability to scale on demand. Your new setup on a provider like AWS can be configured to auto-scale. So, if your site suddenly gets a massive wave of traffic from a press feature or a viral post, the system automatically spins up more server resources to handle it.
This elasticity is what keeps your site fast and reliable, no matter how quickly you grow. It's the best way to future-proof your setup, giving you a foundation that can handle success without buckling under the pressure.
Common Questions About Web Site Deployment
Moving your startup from a no-code MVP to a custom stack is a huge milestone, and it naturally comes with a lot of questions. Let's walk through some of the biggest concerns founders have when they're getting ready for a serious web site deployment.
How Long Does a Typical Migration Take?
You might be surprised. While every project has its own quirks, a focused migration from a no-code platform to a production-grade application can be done much faster than most people think. We've seen a fragile MVP turn into rock-solid software in about six weeks.
So, what does that timeline actually involve? It’s not just about writing code. A professional process usually looks something like this:
- Schema Mapping: Carefully translating your existing data structure—say, from an Airtable base—into a powerful, scalable PostgreSQL database.
- Sprint-Based Building: Developing the application in agile sprints. You'll get weekly demos on a staging server, so you're never in the dark about progress.
- Complete Data Migration: Moving every last bit of your user data over to the new system, securely and without a hitch.
- The Final Handover: At the end, you get everything—the full codebase and total ownership of the infrastructure.
Will I Own the Code After Deployment?
Yes, 100%. This is one of the most important reasons to move off a no-code platform in the first place. You're not just getting a better product; you're taking full ownership of your intellectual property.
A core deliverable of any professional deployment should be the complete codebase, handed over in a private GitHub repository that belongs to you and you alone. This control is non-negotiable and something VCs will definitely look for.
This means you’re finally free from platform-specific pricing, feature limitations, and unexpected changes. You can build, innovate, and scale however you see fit, turning your software into a real, defensible asset for your company.
What Are the Biggest Security Risks?
When you’re deploying, the biggest red flags are almost always insecure data handling, sloppy access controls, and vulnerabilities hiding in third-party libraries. A proper deployment process has to be built on a foundation of security, following OWASP (Open Web Application Security Project) best practices from day one.
This isn't just a box to check. It means implementing solid authentication, encrypting sensitive data everywhere (both in transit and at rest), and building automated security scans right into your CI/CD pipeline. That way, you’re continuously defending against the most common web threats, not just hoping for the best.
Ready to turn your no-code MVP into a scalable, production-grade asset? First Radicle specializes in migrating fragile projects to modern tech stacks in just six weeks, guaranteed. Learn more about our process.